Showing posts with label hutch. Show all posts

Monday, August 8, 2011

BEFORE AND AFTER: China Hutch

I have a friend who doesn't understand what I do - paint furniture. . .
She thinks it is awesome, but would never ever do it.

Having said that, she has given me, yes given me, some of my favorite pieces of furniture.  Her sweet Mother- in-law passed away and  they waited for awhile and then decided to clean her house out. She called and said come and get it, it is going to the D.I. thrift store.  She felt better about given it to me than just donating it. Bless her heart, I wanted to make her proud.

The China Hutch is so heavy, and I am so happy it was in two pieces.

Before:  love it so much, I want to eat it!


Before: The top, a sneak peak of the cool embellishments.


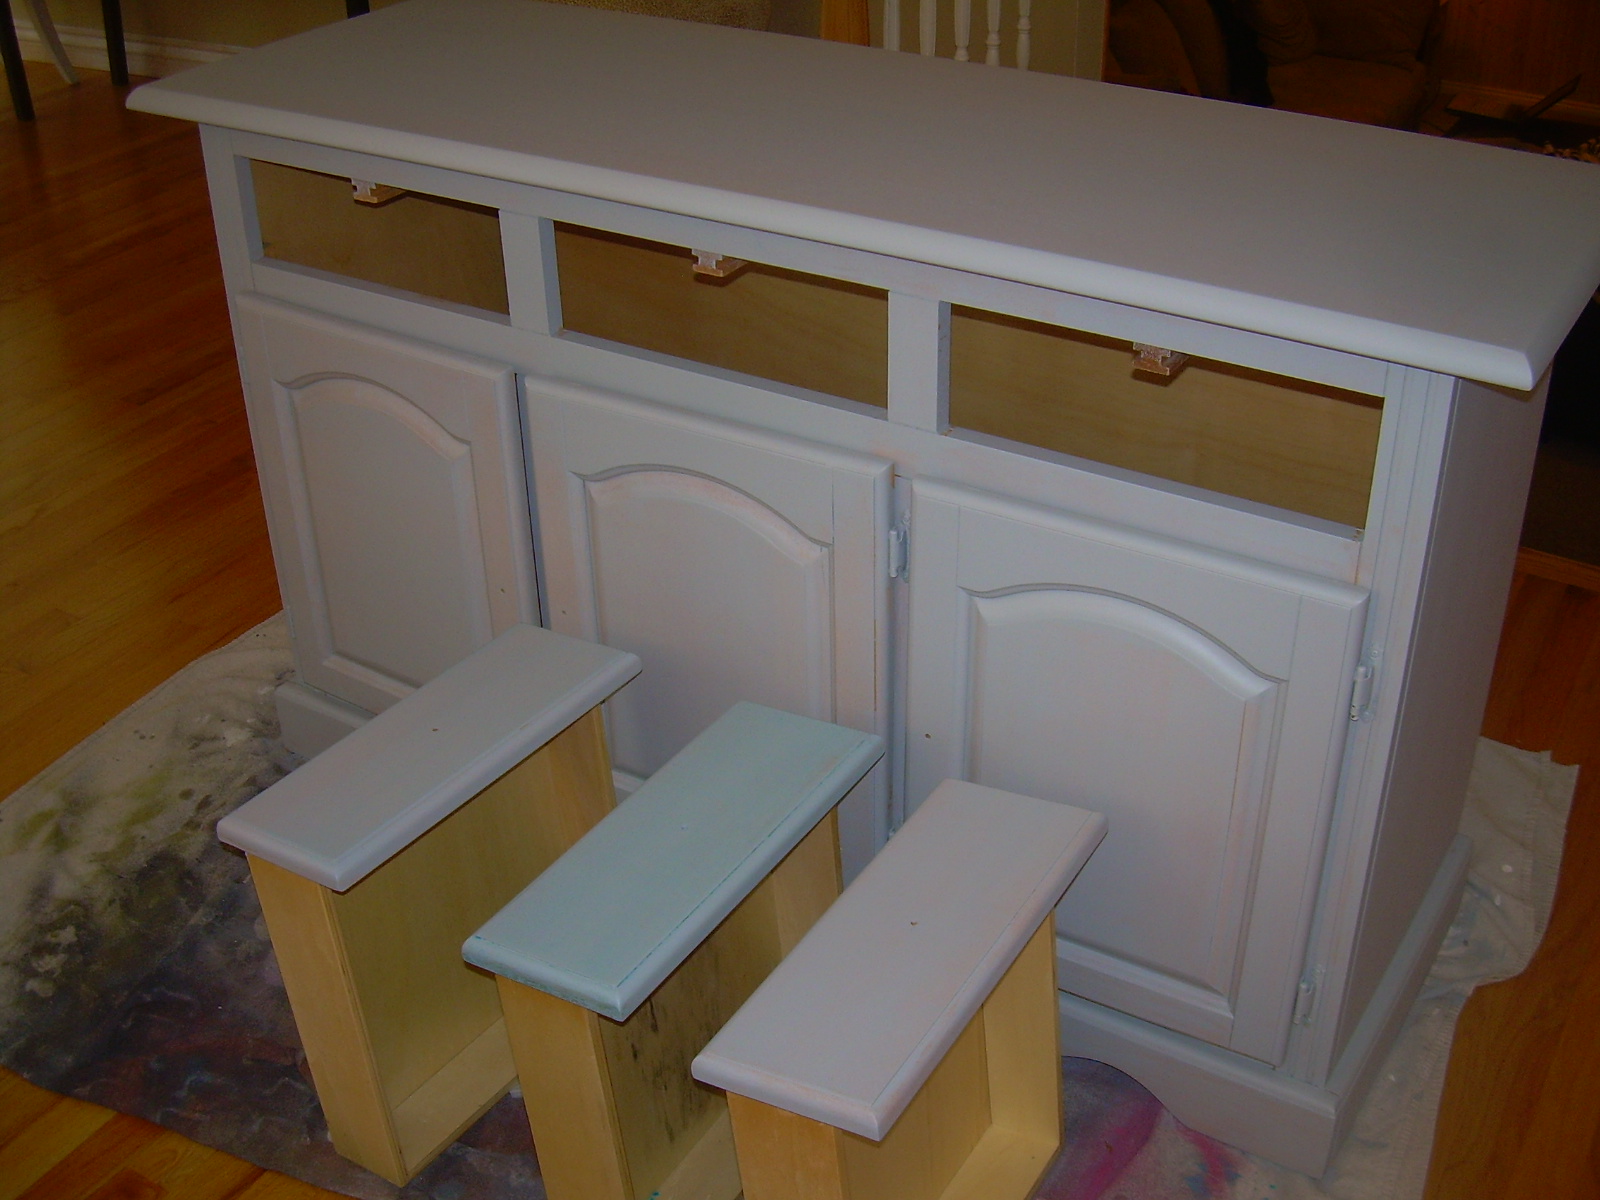
Oh, the bottom has a cool drawer.


Ready for the top. . .


So I think I died, and went to Heaven with this china Hutch!


I am not sure if you can see this picture very well, but the back of the China Hutch had this gorgeous design.  I would have liked to keep it, but it had too many imperfections, so I kissed it goodbye.


it is heavy, old, well made and sturdy.  It has great bones!


Love it!  It was missing the shelves, but I wasn't too worried.


I went to home depot, they know me by name now, bought a pine board.


Used my saw, my best friend - I love the smell of fresh cut wood, so I could saw all day!

Easy fix!   To finish this Hutch, I cleaned it really good with soap and water.
Brushed it off with a dry paint brush and used a tack cloth to make sure there was no dust! I brushed on KILZ water base primer on part of it, and sprayed primer into the hard to get spots.  I used a sand block to make it smooth and remove over spray and globs I might have  made.  Then I sprayed it with Rust-oleum white semi gloss paint.  I gave it a couple of coats. I used spray paint just to save some time. I then brushed on minwax Poly!


From old to new!


The shelves look good!


The knobs are gorgeous.  I spray primed them and then used a metallic silver spray.


Yum!


Slightly distressed to perfection


One more look,
can you tell I like this piece. . . .
How cute would it be in a little girls room,
so many possibilities!

linked to these parties!

Thursday, December 30, 2010

Working on. . . . part 1

This Hutch!
I found it on KSL classifieds, 
and it has just been
waiting
for
a New
coat of paint!

It was in fantastic shape!  It just needed a good cleaning with soap and water!  I took off all the knobs and put them in a baggie and marked them - HUTCH!  I am going to take the glass doors off and leave the shelves open!


Next I Primed!  I start with a brush to get the paint into the corners!  This is my favorite brush and it is time to discard~ weep~!  My hubby's parents gave me money for Christmas!  Most girls would buy a new purse or some shoes!  I am buying new painting supplies, and I can't wait!


Then a roller  like this - You have to do a small portion at a time. You don't want the paint  to dry before you go over the paint you put on with the brush.  I do this because the paint brush puts the paint on thicker, and the roller gives it smoother finish!

I also have learned to save a few pennies by using a paper plate!


Here she is, all primed!  I always use a block sander to go over every square inch of a primed piece!
It takes off any dust, or globs!  Everyone always asks how I get such a smooth finish!  This is one of
the reasons!  A must! I always use a dry paint brush after I use the sand block to get the dust out of the crevices and then a tack cloth, to make sure it is good and ready for the next step, the fun part,The Paint!


Masterchem Industries 20002 Fast Dry White Pigmented Primer


The Primer
Kilz 2 Latex water- base

Friday, October 15, 2010

Turquoise Paint Color

       
   A couple of years ago, I cleaned out my pantry and painted it a crisp clean white!
In the process of organizing it, I had this crazy Idea!  I had this old green hutch that was in a spare room, not being used, except to take up space!  I thought I could put it to good use, in my pantry to display my serving dishes. Then I could actually get to them  and when  done put them away .  I measured and remeasured to make sure it would fit, and was so excited when I hauled up stairs and it fit perfect!  It was functional, but not very pretty!  Fast forward - I was shopping at Jo-Anns in their clearance department, when I saw an beachy type box that was turquoise, distressed and stained.  Love at first sight.  I took the box over to the ceramic paint department.  I found a match and bought it.  Headed to Walmart and found a paint chip that matched the ceramic paint.  I had them mix it up and headed home.  By that night, this is what my old green Hutch looked like!.


I have painted a lot of furniture this color!
A few of the pieces you will find on my side bar under Turquoise!
So now you know how my crazy painting craze started,
with this an old green Hutch and the color Turquoise!!!!

Brand - Color Place
 Type -Interior Latex Flat 
Color -Cozumel Aqua  91402 
Stain -Minwax, Jacobean


I have had a lot of request for this color, and I am thrilled you love it as much as I do!

linked to :

Remodelaholic
Fingerprints on the Fridge
Miss Mustard Seed
Thrifty Tickle
Shabby nest
French Country Cottage
Be Colorful
Chic on a shoestring

Sunday, September 12, 2010

I am thinking - craft room Hutch!

I love how the back of this cabinet has a darker color than the frame! Isn't the color perfect. . .

the color is Tropicana Cabana 2040 Benjamin Moore

Lynne from Pretty, now so Pretty has transformed this Hutch into a place to display her Grandma's dishes!

Isn't amazing what a little bit of paint can do!