Showing posts with label dresser. Show all posts

Friday, July 27, 2012

Aqua Love! Before and After (and a little bit of black)

Oh my, I love old furniture and paint. 
 When I saw this headboard, I knew it would be gorgeous in Aqua!


I also had a dresser and nightstand that I knew would look great painted Aqua to match.


The only before picture I had, but oh so cute!
Gorgeous!


My daughter, Morgan posted a picture on Insta-gram of the dresser and nightstand with these white knobs and glass knobs. She asked which knobs were peoples favorite.  The glass knobs won, now I have to wait for them to go on sale at Hobby Lobby.
Every third week the knobs are 50% off!


Yay, I am Happy!


The other dresser has been black for a while now


Go find that furniture and get painting!
It's addicting!


linked here:
The Thrifty Home

Sunday, June 3, 2012

Oh Baby! Really a baby and a dresser!


There is NOTHING like a sweet, beautiful Newborn baby!  Especially when he is your Grandbaby!  My  daughter Erin and her hubby Derek, had their 3rd baby boy!  They should have 10 boys, because they make em CUTE!  Today, we had his baby blessing and he was a trooper!  Didn't make a peep, and when his Daddy held him up, to show him off, there were Oohs and Awes! Brought tears to my eyes.
I am grateful for these good days!

Here is a sweet picture of him.  Erin's good friend Kami took them. There are many beautiful pictures, but this one shows off two cute things - Sawyer and his dresser!


Ooh and Awe! Just want to hold him!


So this is what the dresser looked like before it received a new coat of white paint!  Pretty darn cute. It started out your typical brown, but my other daughter, Morgan painted it for her new house.  It didn't quite fit, the style the color, something was off.  So she had it in her garage, gathering dust, and a few dents.  When Erin was looking for a dresser, she described to me what she wanted it look like - well she described this one! So being a nice sister, Morgan gave it to Erin!  That's how we roll around here!


A dent from hitting it with her car!

We painted the dresser in a Valspar semi- gloss white, and finished with a coat of water based poly. (so it won't yellow.) Gave it some new hardware and Voila, a dresser fit for a King ~ or Sawyer~!


Enjoy each precious moment! 
Oh, and Erin is working on his room, more pictures to come!

Linked to these parties here:

Primitive and Proper
Liz Marie
Elizabeth and Co.
Miss Mustard Seed
French Country Cottage
504 Main Tickled Pink

Saturday, May 26, 2012

Before and After: Dresser and nightstand


Hey Goodlooking!

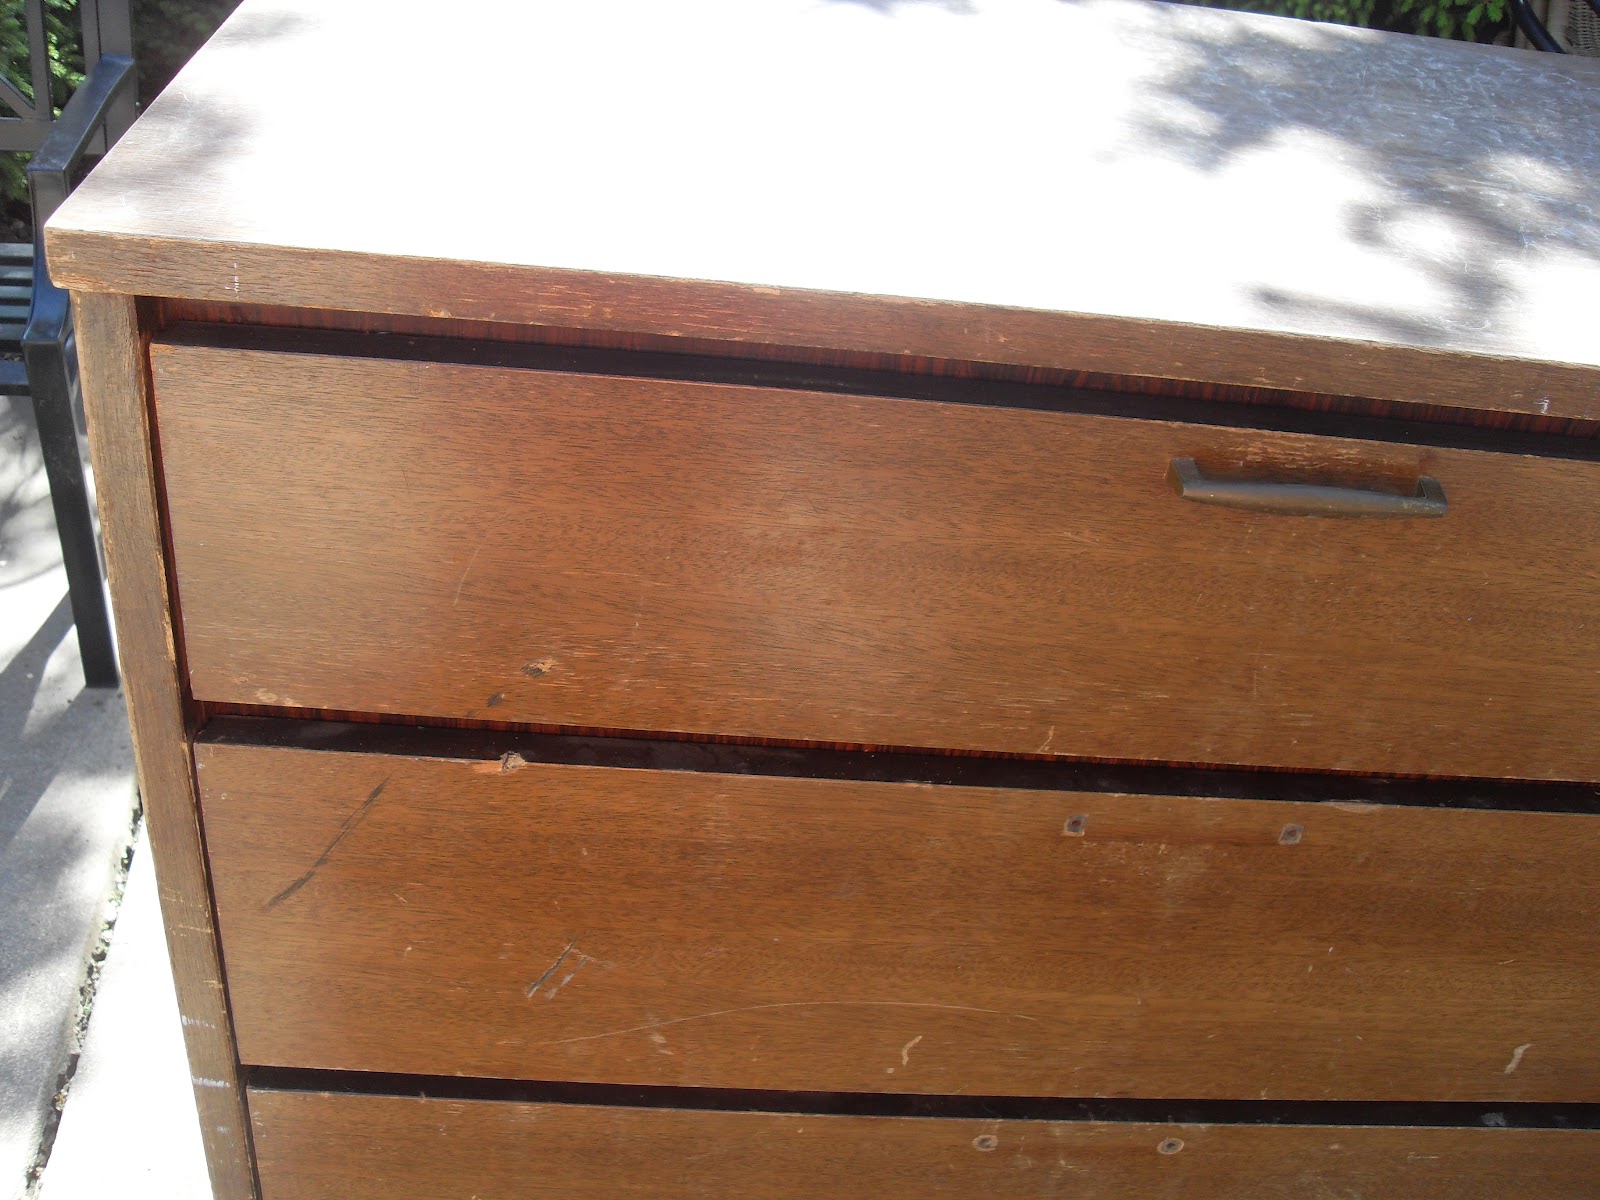
Was my first thought when I saw this old dresser at the Thrift store. . .  I knew it would look great with a new coat of paint, and I was right!


I loved the modern look it had, and how the hardware was placed at the top of the drawer.


I really had to repair a lot of nicks and dings.
Like most old dressers, it is solid wood, with dove tailed drawers so it is well built and sturdy.

The top was also laminate, which is typical of an old dresser.
made it durable
That also means I used an oil base primer.

Ready?


So much better!

While I was at it, I painted a nightstand for my daughter Paige.
Her husband just graduated from law school and they have moved home. They brought the nightstand home with them.

Yipee!


Such a cute little thing, but in need of some TLC.


Well there you go!  I have been MIA because of a new grandbaby, who is ADORABLE and Paige and her hubby moving home. I have been busy with lots of Great things. wonderful happy things


Can't forget that my own home is getting a makeover, in between events.  You finish one room, and it makes the rest of the house looks so bad!

The paint color of the dresser is Valspar semi-gloss Lake Country
The hardware was primed with Valspar grey and sprayed with Metallic aluminum

Linked here:
Primitive and Proper
Miss Mustard Seed
Liz Marie
Elizabeth and Co.
My Repurposed Life
My Uncommon Slice of Suburbia
Redoux

Tuesday, November 29, 2011

Pink Dresser: Before and After


O.K. 
Here she is!

BEFORE


I really did take pics of the daunting task of removing the stickers.  The pics will show up later, I am sure! 

I used Goof Off 2 and a razor blade!  Surprisingly, this dresser was in perfect shape after the stickers were removed!


Priming


Looking pretty good with just primer!  I really wanted to paint it white, but did not have any on hand.

I did have Benjamin Moore Pink Lace though - so she is Pink and Pretty!


No Stickers and smooth as can be!

                                                                                            AFTER

I love the hardware and especially painted glossy white.


I used a brownish glaze to finish her off.

She has already been bought  for a little girls room


They are picking it up Friday, so that gives me a few days to enjoy it!

Friday, August 26, 2011

Spot Light on Abby! Before and After Dresser!

Meet Abby and her hubby Nate!


When I was a Relief Society Advisor for a Singles Ward, I met a lot of darling, dynamic girls.  I fell in Love with Abby and her sister Ali.  They both played basketball for Weber State University and oh my are they both so stinkin CUTE!  and fun and funny and stylish!  It has been fun to watch both of them fall in Love, get married and both going to have babies! What?  Things are moving fast here.  Both Abby and Ali have tried their hand at painting furniture.  Today I want to show you Abby's latest and greatest REDO!


FREE dresser:  BEFORE


AFTER!!!! doesn't surprise me it is yellow.  Abby had yellow at her wedding reception and Oh so cute!
love it Abby and you too!

Redoux

Thursday, August 25, 2011

White Dresser! Before and After

Is it Shabby Chic or Vintage? What ever it is, it is GORGEOUS!

BEFORE


This is an old Drexell dresser.  It has dove tailed drawers and it is HEAVY!


It was painted a gorgeous white and distressed perfectly. Then I gave it a coat of  poly for protection.  I kept the original hardware and painted it white too.  It was missing one knob, so I used 3 glass knobs to dress it up.


Beautiful!
linked to these parties:
Miss Mustard Seed
Romantic Home
My Uncommon Slice of Suburbia
Primitive and Proper
Just A Girl

Tuesday, August 2, 2011

How to Spray paint furniture!

Spray painting furniture is an easy and fast way to transform a piece to fit in with your home decor. The most difficult part is often finding a space to do the spraying. 


Many people have the mistaken impression that spray painting furniture won't result in a long lasting finish, that it will chip, scratch or flake off easily. It isn't true! If you take the time to prep and use the right paint for the job your finish will be just as hardy as any coat of paint. Plus, with a sprayed finish it is much, much easier to get a smooth, flawless finish. No brush stroke marks! And did I mention it is faster?


Spray paint is any home decorators friend, especially those of us on a budget. However, there are a couple of downsides. First, spray paint color choices are limited. This is a bummer when you have a very specific shade of color in mind. Second, it is messy and should never be done indoors and you have to take care to not breathe in the fumes.


The dresser below started  a creamy color with gold trim. Then it was a glossy black and then it was painted flat brown for a few years. Finally, the glossy turquoise face lift did the trick and the dresser is as good as new...


before furnituresanding paint

spray-painting primer


spray painting furniture


let furniture dry


spray-painted dresser

TIPS:
The first step in spray painting furniture is always sanding. Many people skip this step and this is why their paint doesn't adhere as well. Scuff up your surface (especially if it is glossy) to give your primer a better chance to stick. Yes, I know primer will say works on "any surface" and even glossy, but trust me on this, you'll have the best results if you do a quick sanding. I use a medium grit sandpaper most of the time.

Next step is priming. Again, shortcutters will skip this step. Don't. Priming with a quality primer is key to a professional looking job and will make the final color coats stick. For this project (already painted wood) I like Rust-Oleum Ultra Cover 2X Primer, especially since I was covering a dark color. This kind is a bit thicker and so you'll need less.


After the primer is dry, add your color! (We used Rust-Oleum Painter's Touch 2X in satin). Spray about 10 inches from the surface and sweep back and forth with smooth, even strokes. Be sure to coat all the crevices and undersides. When finished, let dry completely before moving or putting back together.


 For added durability for your finish, use a spray on poly coating or a wipe on poly coating.

Happy painting!

Brought to you by Home Decorating Ideas

Wednesday, March 30, 2011

Sneak Peak of a furniture find!

I am jumping for joy at these finds!

A beautifully ornate headboard...

With an equally awesome long dresser...

Can't forget about a matching tall dresser!

A complete set. PERFECT!

Oh how I am loving the knobs! I see lots of potential in this piece.

Did I mention it also has 2 night stands and a mirror! Yowza, I've got lots to paint. Yipee!

Any suggestions on color. . .
What would you do?