Showing posts with label blue. Show all posts

Saturday, May 26, 2012

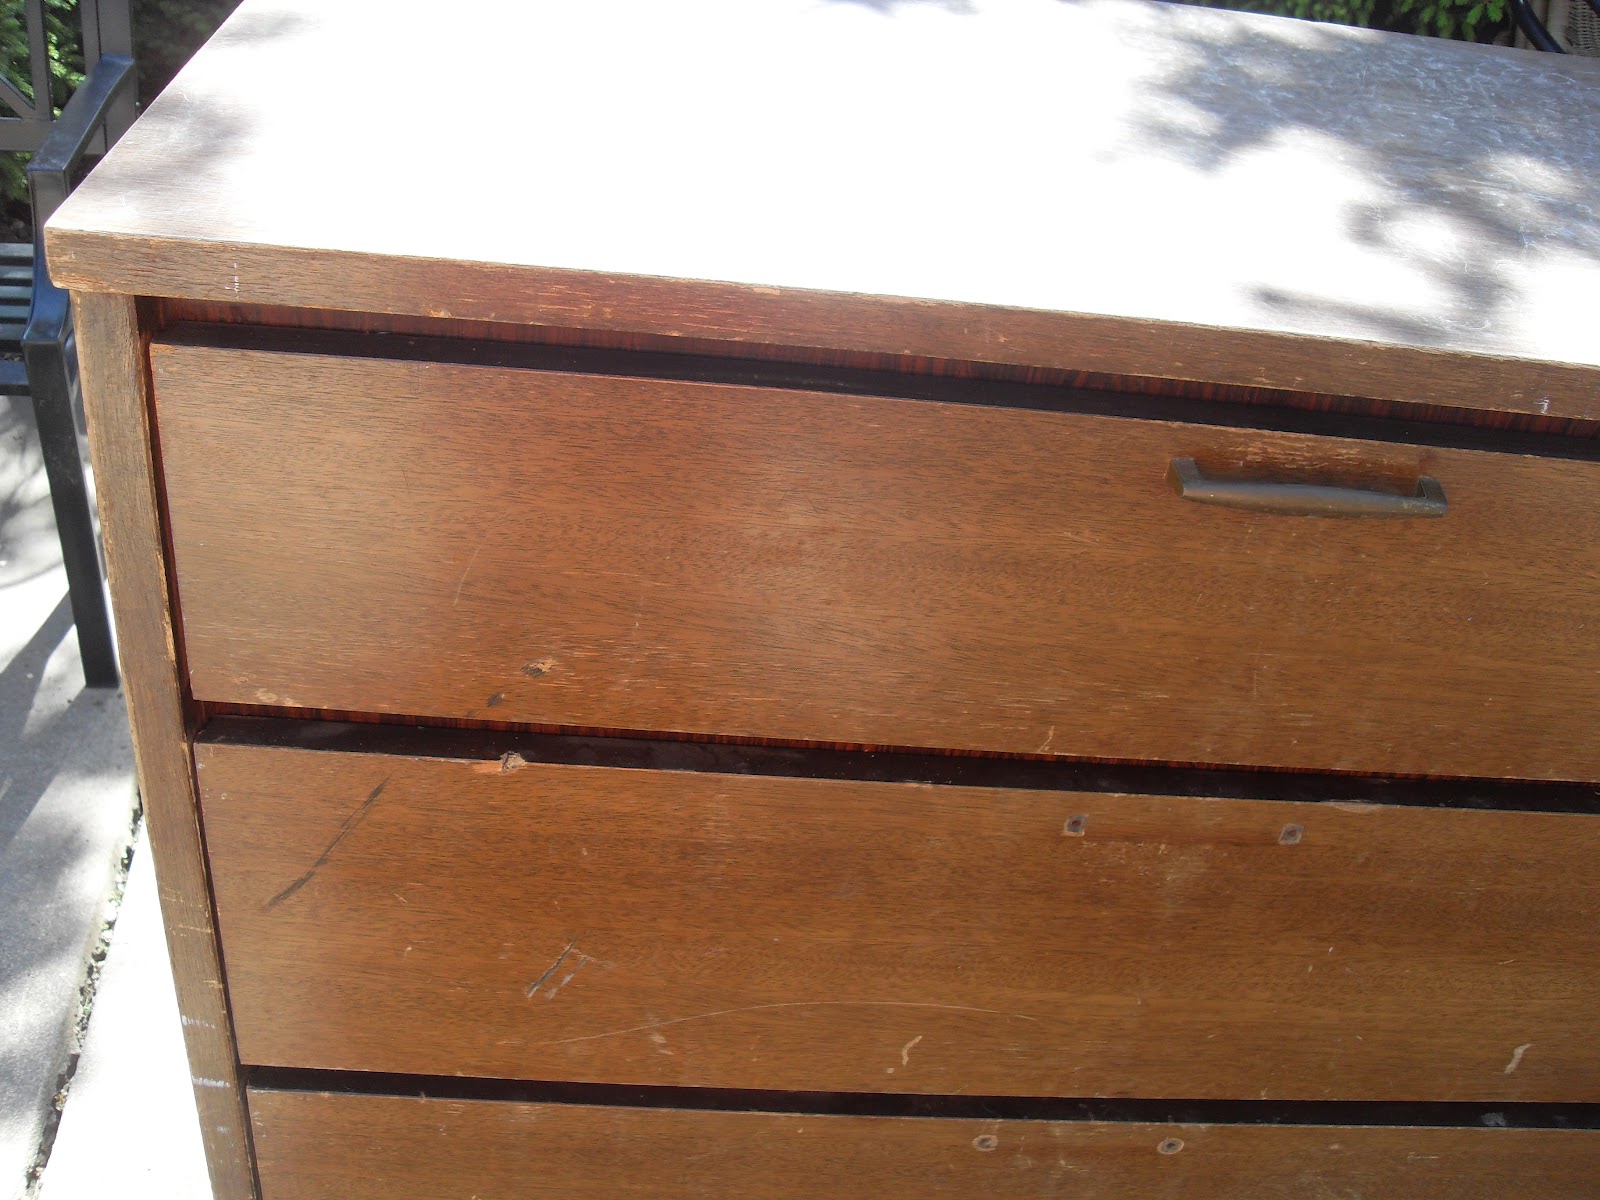
Before and After: Dresser and nightstand


Hey Goodlooking!

Was my first thought when I saw this old dresser at the Thrift store. . .  I knew it would look great with a new coat of paint, and I was right!


I loved the modern look it had, and how the hardware was placed at the top of the drawer.


I really had to repair a lot of nicks and dings.
Like most old dressers, it is solid wood, with dove tailed drawers so it is well built and sturdy.

The top was also laminate, which is typical of an old dresser.
made it durable
That also means I used an oil base primer.

Ready?


So much better!

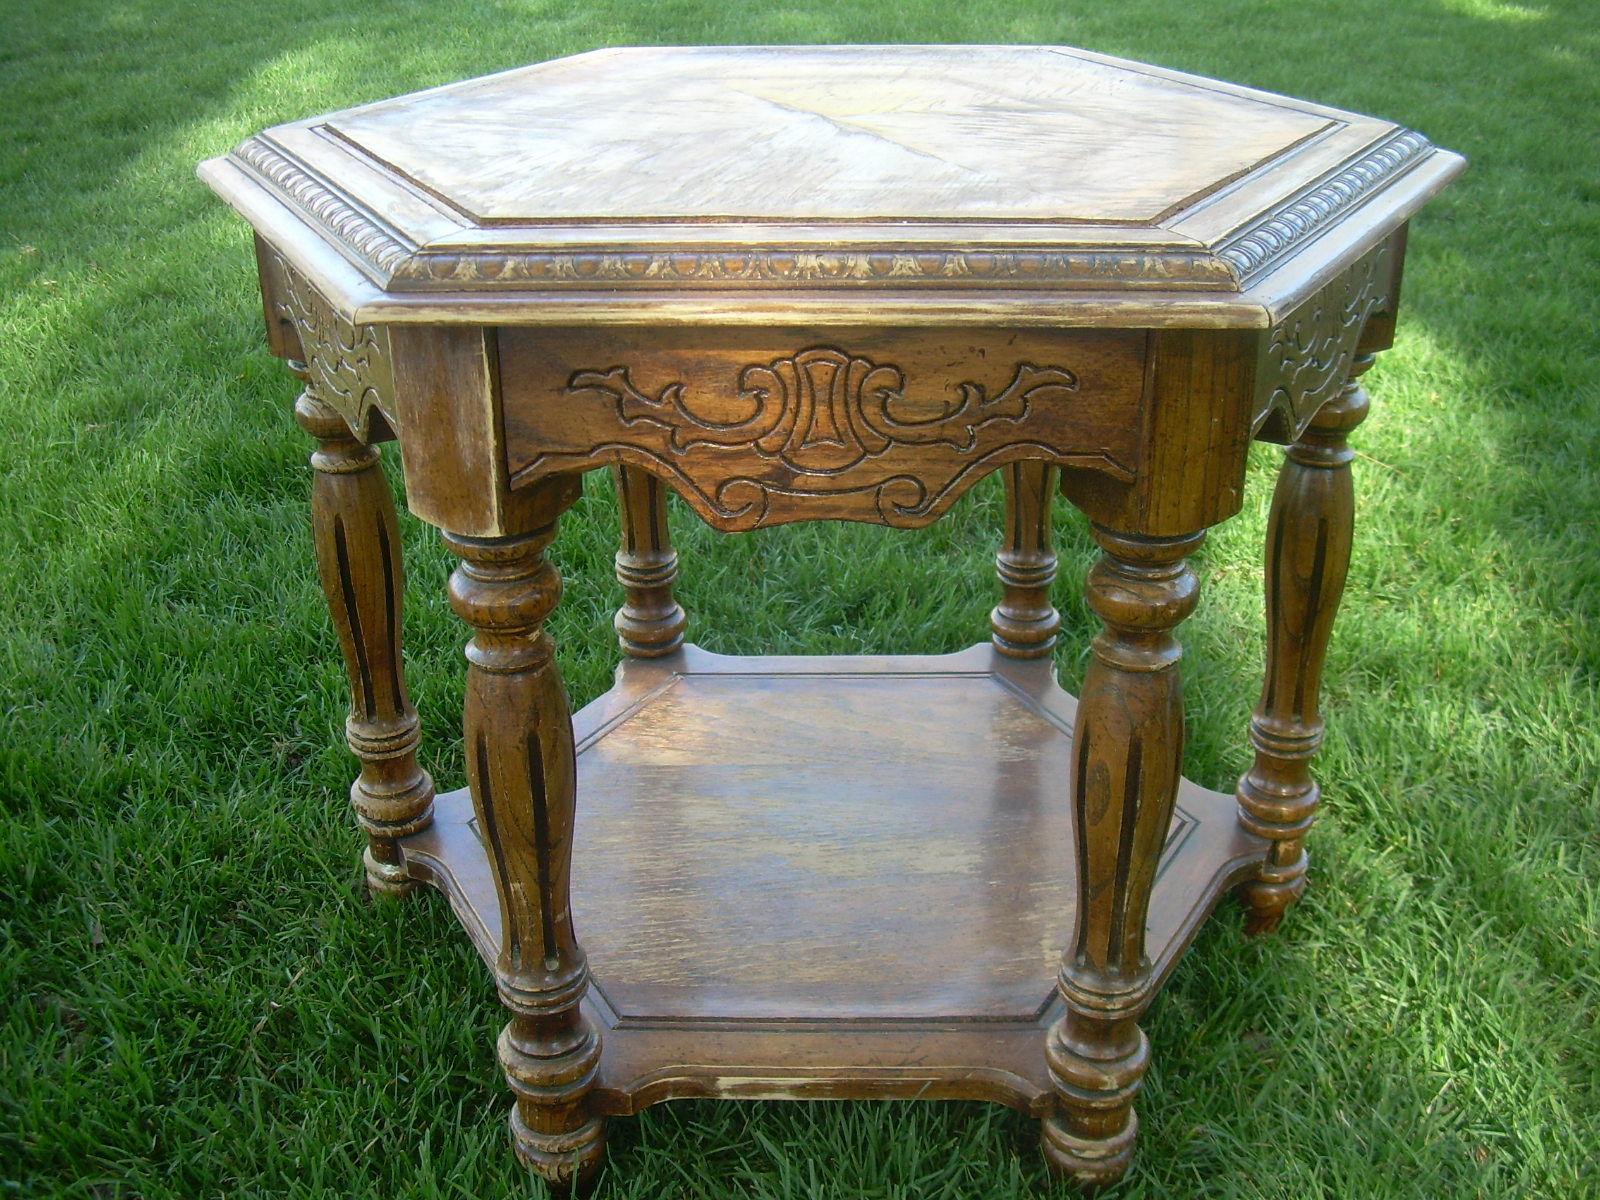
While I was at it, I painted a nightstand for my daughter Paige.
Her husband just graduated from law school and they have moved home. They brought the nightstand home with them.

Yipee!


Such a cute little thing, but in need of some TLC.


Well there you go!  I have been MIA because of a new grandbaby, who is ADORABLE and Paige and her hubby moving home. I have been busy with lots of Great things. wonderful happy things


Can't forget that my own home is getting a makeover, in between events.  You finish one room, and it makes the rest of the house looks so bad!

The paint color of the dresser is Valspar semi-gloss Lake Country
The hardware was primed with Valspar grey and sprayed with Metallic aluminum

Linked here:
Primitive and Proper
Miss Mustard Seed
Liz Marie
Elizabeth and Co.
My Repurposed Life
My Uncommon Slice of Suburbia
Redoux

Wednesday, September 14, 2011

How to Paint a Brass Lamp

Brass Lamps
a simple update

 Not so Bad, but as my decor has changed, they don't fit in. So here are the steps to painting a brass lamp:


I use a painters canvas.  If you don't have one, use a shower curtain from the dollar store.
I have wipes on hand at all times, It comes in handy for drips, to clean things before I paint, and to wipe the paint off my hands!


I taped off the bulb socket and the cord. I wrapped the cord in an elastic and put it in a baggie. I also put a baggie on the bulb socket.


 I wiped the lamp down with a wipe. It cleans, doesn't leave a residue and it drys fast.


I Glazed it with Valspar Asphaltum Antiquing glaze    [it's black]  I used a brush to get into all the nooks and crannies.


I had a dry and a wet rag on hand.  After I brushed the glaze on in sections.  I would wipe it off with a dry rag, and then take more off with a wet rag.  This glaze gives you some time to decide if you want to take some more off.  On this lamp, at first I only left the glaze only in the nooks and crannies. Then I decided I wanted to add a little more.

  Added a new lamps shade from Lowe's


I used Valspar baby blue spray paint.

Doesn't look like the same Lamp!

Here are the steps again:

1. Taped off the bulb socket and the cord. I wrapped the cord in an elastic and put it in a baggie. I also put a baggie on the bulb socket.

2. I wiped the lamp down with a wipe. It cleans, doesn't leave a residue and it drys fast.

3. Sprayed the lamp with  Valspar Gray primer.

4. Let the primer dry and then wiped down with a dry cloth. [to make sure there was no dust or overspray.]

5. Sprayed the lamp with a Valspar Baby blue. I turned the lamps upside down and then upright. I wanted to get all the nooks and crannies.

6. Glazed it with Valspar Asphaltum Antiquing glaze    [it's black] 

7. Added a new lamps shade from Lowes

Linked to:

The Brambleberry Cottage
The Shabby Creek Cottage
House of Hepworths
Let Birdz Fly
Coastal Charm
Miss Mustard Seed

Tuesday, August 2, 2011

How to Spray paint furniture!

Spray painting furniture is an easy and fast way to transform a piece to fit in with your home decor. The most difficult part is often finding a space to do the spraying. 


Many people have the mistaken impression that spray painting furniture won't result in a long lasting finish, that it will chip, scratch or flake off easily. It isn't true! If you take the time to prep and use the right paint for the job your finish will be just as hardy as any coat of paint. Plus, with a sprayed finish it is much, much easier to get a smooth, flawless finish. No brush stroke marks! And did I mention it is faster?


Spray paint is any home decorators friend, especially those of us on a budget. However, there are a couple of downsides. First, spray paint color choices are limited. This is a bummer when you have a very specific shade of color in mind. Second, it is messy and should never be done indoors and you have to take care to not breathe in the fumes.


The dresser below started  a creamy color with gold trim. Then it was a glossy black and then it was painted flat brown for a few years. Finally, the glossy turquoise face lift did the trick and the dresser is as good as new...


before furnituresanding paint

spray-painting primer


spray painting furniture


let furniture dry


spray-painted dresser

TIPS:
The first step in spray painting furniture is always sanding. Many people skip this step and this is why their paint doesn't adhere as well. Scuff up your surface (especially if it is glossy) to give your primer a better chance to stick. Yes, I know primer will say works on "any surface" and even glossy, but trust me on this, you'll have the best results if you do a quick sanding. I use a medium grit sandpaper most of the time.

Next step is priming. Again, shortcutters will skip this step. Don't. Priming with a quality primer is key to a professional looking job and will make the final color coats stick. For this project (already painted wood) I like Rust-Oleum Ultra Cover 2X Primer, especially since I was covering a dark color. This kind is a bit thicker and so you'll need less.


After the primer is dry, add your color! (We used Rust-Oleum Painter's Touch 2X in satin). Spray about 10 inches from the surface and sweep back and forth with smooth, even strokes. Be sure to coat all the crevices and undersides. When finished, let dry completely before moving or putting back together.


 For added durability for your finish, use a spray on poly coating or a wipe on poly coating.

Happy painting!

Brought to you by Home Decorating Ideas

Tuesday, July 19, 2011

Rescued from the Garbage! Before and After full bed!

I went to the D.I. thrift Store  with my daughter Paige and her little boy Cash.
We went for fun and with no intention of buying anything.
So I didn't take my truck.
I found not one but 2 beds!

When I went back to pick up the beds, a dresser was being unloaded,
and it was to cute to pass up. Now I have 2 beds and a dresser.
Doesn't stop there because,
There was a full size headboard that matched the dresser,
and they were going to put it in the garbage because it was cracked.
I said
Whoa, don't throw it away, I will buy it!
Yup, they gave it to me!

Before

 Primed
 AFTER

 While I was working on the other two beds, this girl got a taste of turning something Drab to Fab!


And to think it almost ended up in the garbage.  Stinkin Cute, I say!

Sunday, March 13, 2011

Spring has sprung

If is isn't bolted down,
it gets painted!
my father-in-law says


This big red pot isn't red anymore.
I took the left over Valspar sparkling lake paint
I used on the Hall tree
and painted it!


I bought the flowers from JoAnns at 50% off,
and Voila
I am ready for Spring!

&

I love this new blog
Favorite Paint Colors

I use blog land for my paint colors.
When I see a color I like on a blog, I think i will remember it.
I don't.
And then I spend to much time trying to find it.
As Kristin puts it, this blog is a directory of paint from real people around  blog land!
Yahoo, great idea!

Friday, January 14, 2011

BLUE I think I like it!

Every time I find a favorite piece of furniture,
It's blue!
aqua
turquoise
teal
robin egg
sky blue
ocean blue
etc.


For the whole before and after go here:

I can do this!


Thursday, October 21, 2010

Sofa Table Before & After


                         This sofa table was all the rage a few years ago.  My daughter Erin bought
                          it a a local boutique, and they flew out the door.  Fast forward a few years,
                          and you can't give it away!  Whew, trends come and go! 
                          It still is adorable, but it needs some new paint!


And some sanding


A little bit of filler

very little, because we want the glaze to go into the gouges!


                                                               This little table need to be free of dust, so I could paint it.
                                                             So I used my favorite big brush to clean it off and then used
                                                                a tack cloth to make sure it was clean!  If is isn't clean,
                                                                              the paint can bubble or crackle.
                                                                That has happened to me and it's fixable, but not fun!


                                                            My favorite color right now is Blue Ocean Breeze so that is what I used!
                                                                          I finished it off  with Ralph Lauren ebony glaze.


Isn't she lovely. . .  
This is the best picture I had, so I hope you can tell how darn good it looks!

Monday, September 13, 2010

Craft room rug! HELP me - vote for a rug!

My daughter Erin had us over for Sunday dinner and it was very good - Sweet & Sour chicken, Yum!
She has a new home and it is beautiful!
In her great room off the kitchen, she has this rug!
Exploded Floral blue- green rug
It looks so good in her home!
I am wondering if it would be good for my craft room!
I t wouldn't be the first time I copied her.
She has great style!
I have decided, I am not afraid to try anything,
rebuild furniture and paint it,
reupholster chairs etc.
but what I can't do is decide on a color palette!
It is because I don't know who I am!
vintage
modern
bold & fun
I Love it all!
what do you think about these rugs from West Elm. . .

Wednesday, September 8, 2010

Spay paint

Before
I love the details of this heavy old piece of furniture!
The top was in very bad shape, it looked like it had been warped from water damage.

It took me along time to finish this!
I would sand and sand and then put it away.
It's done!
I love spray paint!
I do wish there were more colors to choose from, but this blue is Valspar from
Lowe's.
It is one of my favorites!

The color is baby blue


I sprayed a white primer before I sprayed it blue

Then I sanded it and distressed it a lot!
I love how the white and the wood shows through!
It gives it a really coastal cottage feel!